Thursday, February 26, 2015

GIMP TOOLS


This is the use of the rectangle selection tool. I filled it with a salmon color.
 This is the use of the ellipse selection tool. I filled it with a purple color.
 This was the use of the lasso tool. I drew a heart and filled with with an aqua color.

This is the use of the stroke tool I demonstrated it on the heart. I was able to only color inside the lines of the heart using the stroke with paint tool.

This is my other use of the stoke tool. This time I drew a heart and the used stroke line instead of stroke with paint and filled it in yellow.

Here is the final product after using the selections tools.


Paste Into: 


This is my attempt with paste into. First I made a selection and then I right clicked and went to edit-paste into.

This is wheat i go when that happened. I notice the whole picture doesn't show and it doesn't fir the picture to the selection. I was able to move the picture around to get the parts I wanted to show.

This is the final product when exported as a PNG.


Transparency (opacity):
This is me using opacity with layers in GIMP. I chose a base picture.


Then opened this second picture as a new layer and change the opacity of the layer


  This is the final product after being exported as a PNG.

Text:
This is experimenting with text, size, color, and opacity. Each time I made the text a different word, size, color and opacity. They are positioned on top of each other so it is easier to tell the difference between the capacities of the 5 words. 


Scale:


This is me scaling my Midterm #7.

This is the original image in GIMP and exported.


 This is me scaling the image to half it's size and the exporting it as a PNG.

This is me scaling the image with the height and width not linked. I made the image short and fat. Then I exported the final image as a PNG.


Class 6, Assignment 8

Everything I did can be found at http://JiED.org​ and https://playcanvas.com​


Here I visited the link  http://JiED.org​ and played with the rubix cube. The instructions were very simple and straight forward. Although with a few clicks it easily got messed up and I got lost.

Next we had to do the https://playcanvas.com​ games.

This game is called Asteroids. You move around using the arrows keys and use the space bar to shoot and destroy the asteroids. The spaceship moved around as if it were actually in outer space.

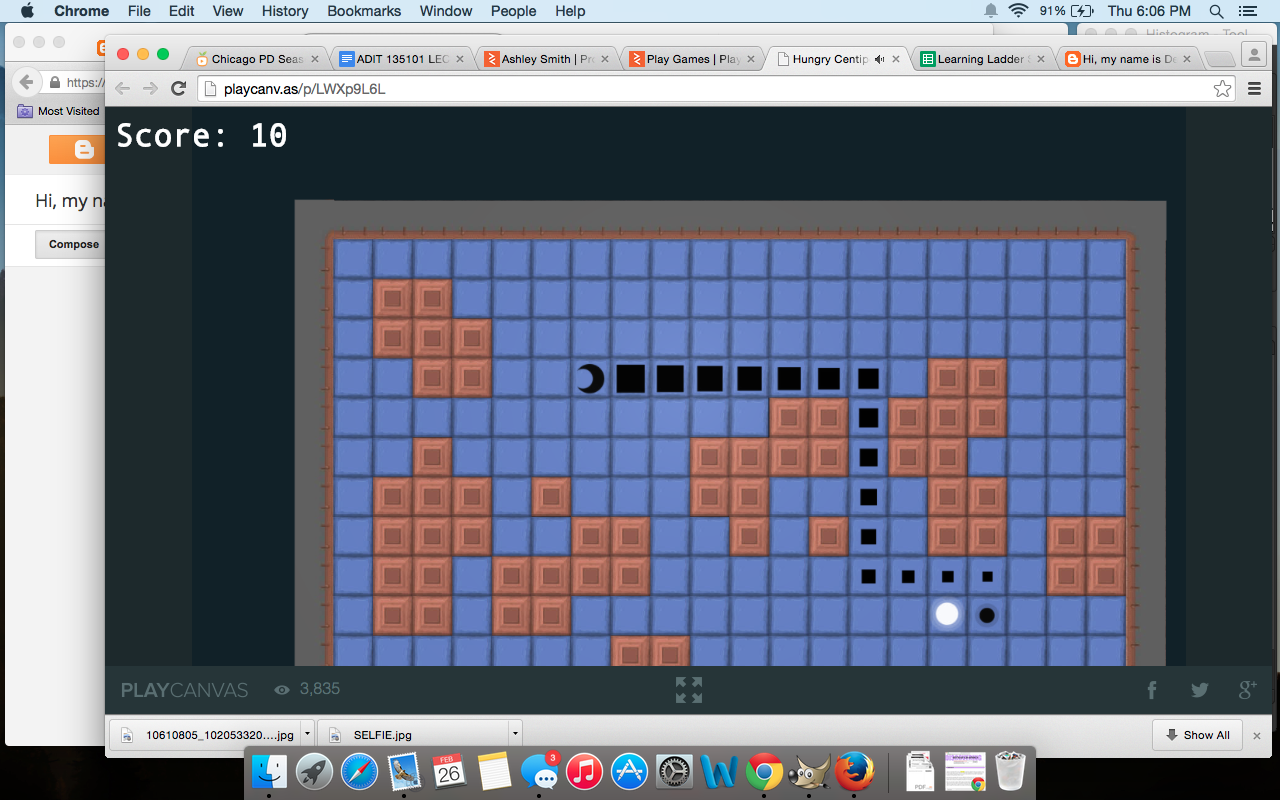
 This game is called hungry centipede. It kind of seems like a knock off of the classic game "snake" with a couple twists to it.

This game is called winter blast. You move around using the arrow keys and use the mouse to shoot. You have to shoot the snowmen before the get you. Each wave you get through is a new level. The game was okay, but it was hard to maneuver. 

Class 6, Assignment 6

I watched the concept of The Exquisite Forest.

I registered to the Exquisite Forest, but when I went to start a new tree it stated, "As of August 1, 2014, new submissions to This Exquisite Forest are closed" and therefore I cannot make a tree. This is a screenshot of my attempt at making a tree.

Class 6, Assignment 4

Here are the progress screenshots of me adding everyone's blog to my sidebar.


Here's everyone's blog added to my sidebar.


Midterm #8


This is before using any of the smudge or blur tools.

This is me beginning with the blur tool.

I zoomed in for accuracy removing dark lines.

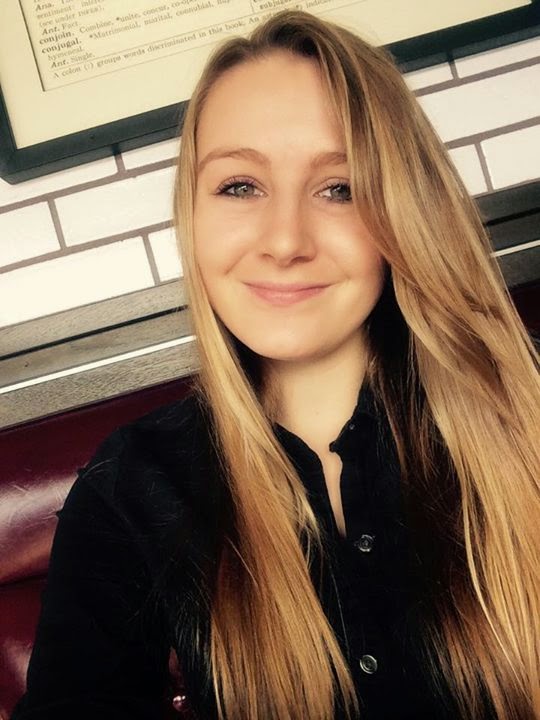
This is the final product. I removed dark lines from under my eyes and also removed some smile lines. I was careful not to do too much so it didn't look too unnatural.


This is using GIMP tools to edit a photo of myself and make it look better. It is a midterm (or final, if it's a final) exercise from the Immersive Education course that I am taking at Boston College. The course is called Discovering Computer Graphics. For details, visit the immersive BC portal at http://ImmersiveEducation.org/@/bc

Midterm #7

Here are screenshots of my progress throughout Midterm #7 with Taylor Kinney my fav firefight from the show Chicago Fire.


I opened the logo, used the ellipse selection tool and copied the image and then replaced his eyes using the brush.

The rectangle selection tool was used to make a black bow at the bottom of the picture. It was the filled with BG color.

Here is where I added text and changed the color and size of each line.

Here is my final product in the JPEG version. I also saved it as a PSD, but it failed to upload to blogger.


This is me using GIMP to edit and add layers to a photo of Taylor Kinney. It is a midterm (or final, if it's a final) exercise from the Immersive Education course that I am taking at Boston College. The course is called Discovering Computer Graphics. For details, visit the immersive BC portal at http://ImmersiveEducation.org/@/bc

Thursday, February 19, 2015

Susan B. Anthony GIMP

First I changed the background color to gold and added stars
Then I drew the face and begun to add words
I finished up adding the words.
This is the final product after exporting.

Susan B. Anthony Word Doc

First I drew a circle and added a gold gradient
Then I added words and drew the face
Then I added stars using the star shape.
This is the final product after exporting